
We had never used chia seeds before, but we had heard them compared to flax seeds, and even used in the place of pectin in refrigerator jam! Generally, we use xanthan gum or potato starch for thickening.
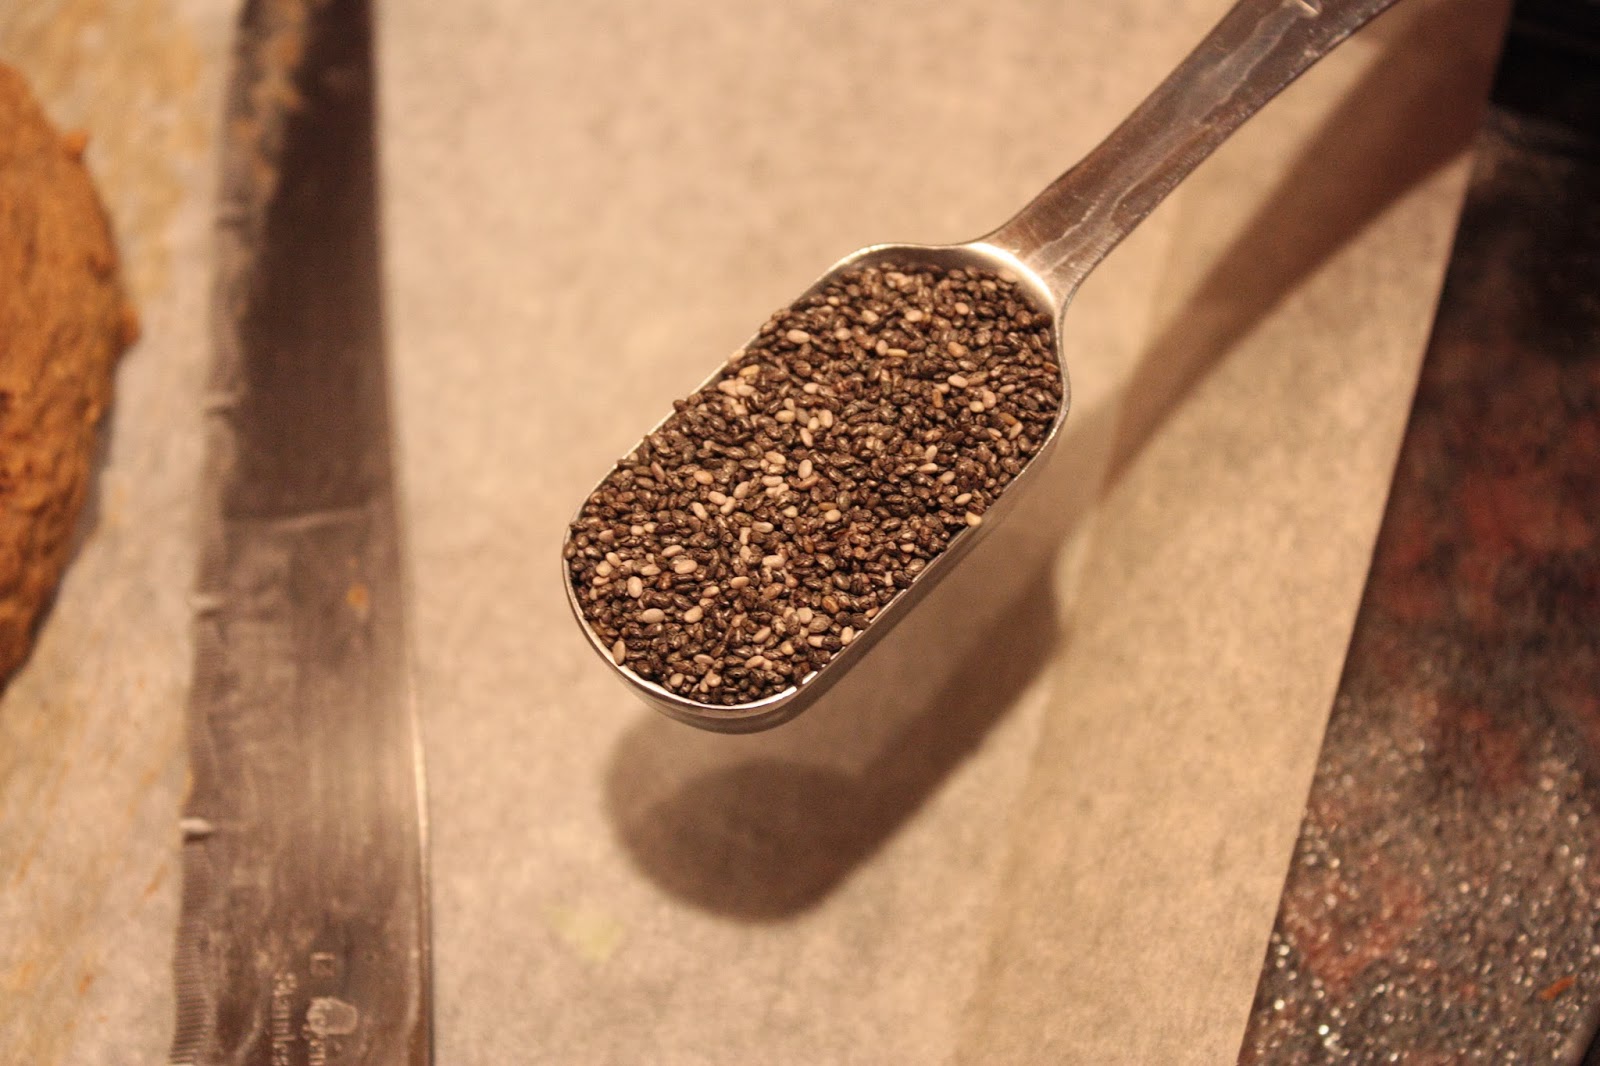 |
| chia seeds |
Unlike Stephanie, we started with the dry ingredients:
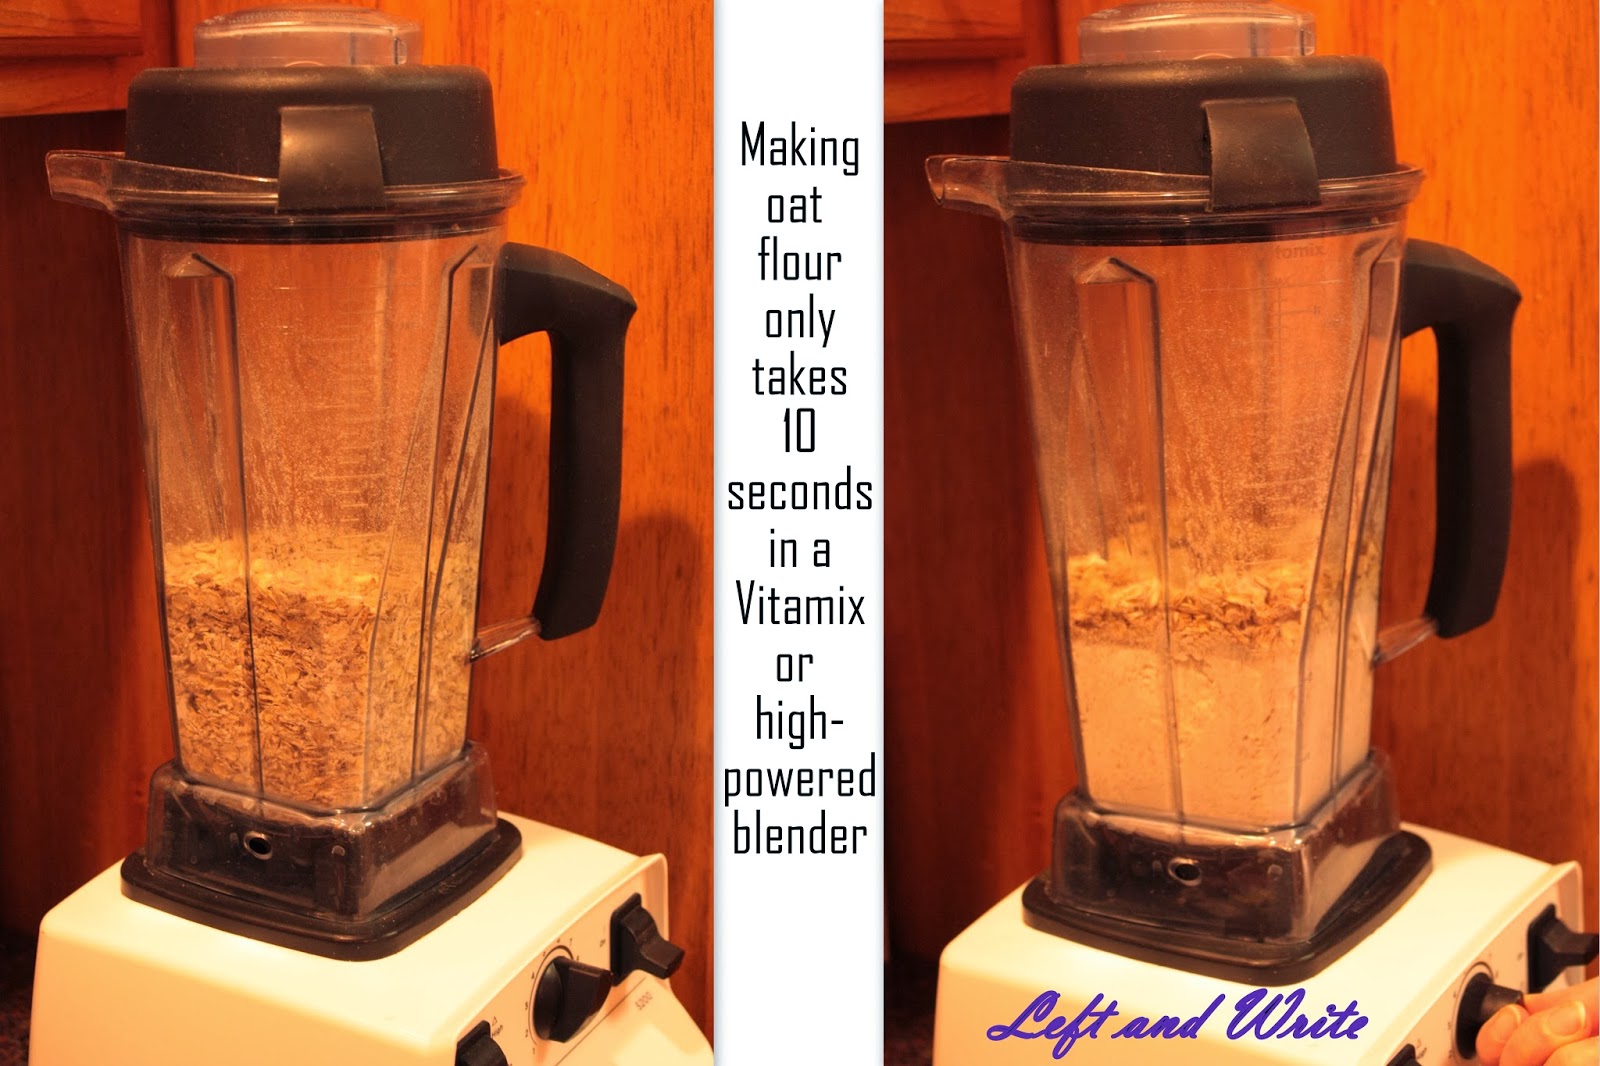
1 ½ cups finely ground oat flour (grind up old-fashioned rolled oats in a Vitamix or high powered blender)
1 teaspoon sea salt
1 teaspoon aluminum free baking powder
1 teaspoon baking soda
So, grind up the oats first all by themselves and then throw in the rest of the dry ingredients and blend. Set aside in a bowl.
 Wet ingredients:
3 Tablespoons chia seeds ground up in the blender with 1 cup of water
¾ cup of dairy free milk (We used unsweetened almond vanilla milk; Stephanie uses hemp or coconut. It would probably taste good with cows milk, too)
2 Tablespoons apple cider vinegar
2 Tablespoons honey
2 Tablespoons olive oil
Again, blend the first ingredient, chia, with the water, and then pour in the rest of the wet ingredients and mix.
 If you are making a single recipe in a Vitamix (or large capacity blender), you can dump the dry ingredients in with the wet and blend again. Otherwise, you may run out of room, and must mix the ingredients in a large bowl. Be careful not to over mix and make it too sticky.
 On the left we were making a double batch in a very large mixing bowl. After my mom made the first loaf, it tasted so wholesome and moist that she turned around and made a double batch, for a total of three loaves in one day. That's when you know it is good! That and when my wheat-loving father tasted it and declared it was like real bread!
Anyway, after you mix it together, dump the dough onto a parchment paper lined cookie sheet, and shape it into a 12-15 inch long log. In the picture below, the loaf is squished up against the side because we wanted to fit two loaves on one pan. It worked fine.
 Bake in a preheated oven at 350 degrees for 50 minutes. Stephanie says it can last up to 60 minutes for a thicker crust. We have a gas oven, and we removed it promptly. The crust was thick and chewy, but the inside was so soft, moist, dense and wonderful. I could go on, but you can taste it for yourselves! In the meantime, feast your eyes on this picture of the finished product!
I may create a printer-friendly version... UPDATE: click the print friendly button at the bottom of the post to edit a printable version of this page.
No comments:
Post a Comment
I love *positive* feedback